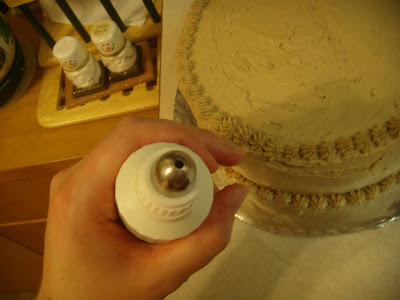
My dad recently had his birthday just before Christmas. As per his usual request, I made a spice cake with maple frosting. (He suggested this combination long before I entered it in the Fair.) The recipe is posted in the Spice Cake blog entry from December 28. Here is each step of my cake-making process.

First, I mix my sugar and fat (shortening, butter, oil) together.

This process is called creaming. Here is the creamed butter, shortening, and sugar.

Next I beat in the eggs, one at a time. At this point I also add any extracts, such as vanilla or almond.

Mixing in the spices and baking powder/baking soda. (Ideally, I should combine this with the flour, but I'm lazy sometimes.)

Lastly, I alternative additions of the flour and the liquid (milk, buttermilk, water) to the batter. I always end with the last of the liquid.

After I get all the ingredients combine, I scrape the bowl to make sure there aren't any unsightly lumps, or flour sticking to the side of the bowl.

Finally, I beat the batter for a few minutes to get it nice and smooth.

Next, I get my pans ready. These are my 8 inch round cake pans. I got them at the grocery store in Madison when I was in college. I love the whirly-gig that loosens the cake from the pans after baking - VERY helpful! These are probably about $3 cake pans. I swear by cheap, NOT nonstick bakeware. It works really well for me!

After brushing shortening onto the sides and bottom of the pan, take a little flour and tap it around into the pan to form a light coating.

Greased and floured cake pans.

Take care to fill the pans as evenly as possible with the cake batter for uniform layers.

After testing the cake for doneness with a toothpick, I let them cool in the pans on a wire rack for about 10 minutes. Then I loosen the cake with my pan helpers. With other cake pans, I loosen the sides of the cake with a knife, and tap the bottom of the pan to loosen the cake. Often I let the cake fall out onto the outstretched palm of my hand, then flip it over onto the cooling rack.

Next, I prepare the frosting. I plan ahead and set my butter out when I begin making the cake so it will be softened by the time I want to use it. This is the mixture of butter and powdered sugar.
The mixture with the maple flavoring mixed in.

After the milk is beaten in, I test the consistency of the frosting to see how it will spread. If it's too stiff I'll beat it a little more or add a little more milk.

Prepping the cake layers for frosting. I had a little ridge form on this layer, so I'm trimming it with a serrated knife.

After covering a round cardboard with foil, I set down one of the layers (usually the one that has the flatter top so the other layer will stack balanced). Then I spread the frosting with my large spatula.

Adding the second layer after frosting the first, making sure the cake is lined up evenly.

I start frosting the sides with a thin layer, then add more and create a smooth look.

Last, I frost the top and round the edge of frosting from the sides to the top.

The frosted cake, ready for a little primping.
The finished borders.

Using the remaining frosting, I tint it with some brown food coloring to write on the cake. I used a toothpick to add the color so I could control the shade of brown I would make. Then I mixed the color into the frosting and put it in my decorator's tube.
The finished cake! And because I'm such a good daughter, I didn't even reveal my dad's age. :)


2 comments:
Looks delish! Question, though... Why not a nonstick pan? Just curious.. I only have a few pans, but I only own nonstick.
I hate nonstick bakeware. It browns the bottoms of the goodies too quickly! I live by my grocery store cheapies.
Post a Comment